Hi friends!
After a week off due to a crazy, busy schedule, I’m back. If you’re a regular at Mallard and Magnolia, you know I really enjoy healthy, clean eating (and baked goods – it’s called balance). I’m a big advocate for Whole30 and recently completed the program for the second time. I love Whole30 and appreciate the fact that you do it as a “system reset” and not a weight loss program.
However, I’ve had a few lingering pounds from the holidays that I can’t seem to get rid of. This was especially frustrating because I eat pretty clean but realized that I had probably plateaued and my portions may be off. I’ve heard a lot about tracking your macro intake and decided to give it a try. For the past three weeks, I’ve been tracking my macronutrients – carbohydrates, protein and fat and am down four pounds. I definitely feel leaner and plan to calculate my current body fat percentage in the next week or two because the goal is to lose fat and not muscle mass.
I calculated my recommended macro goal using If It Fits Your Macros at iifym.com and use My Fitness Pal – app and website for tracking. I adjusted my macro ratio in the app according to the numbers I was given by IIFYM. The only downfall to the free app is that it won’t let you input your macros based on grams. You have to adjust the percentages which means that your macros may not be exact but you can get them pretty close. I was okay with this so I stuck with the free version. I’ve also found it’s a lot easier to view your nutritional intake for the day, create meals and meal plan on the website. The app is a great tool to use on the go though!
Here’s my log from yesterday. You can easily view your intake by clicking Nutrition which shows percentages under the macro tab and grams under the nutrients tab. I didn’t hit my goal dead on but was pretty close. You can see my goal and see what I actually consumed for the day.


I’ve been making protein smoothies for breakfast lately since they are an easy and quick way to enjoy a balanced meal. The key to making a smoothie that keeps you full until lunch is making sure it includes plenty of protein, carbs and healthy fat. Today, I’m sharing one of my go-to smoothie recipes with you. I try to avoid dairy on a daily basis (but do love it) so my liquid preference is either an unsweetened almond milk or coconut almond blend.
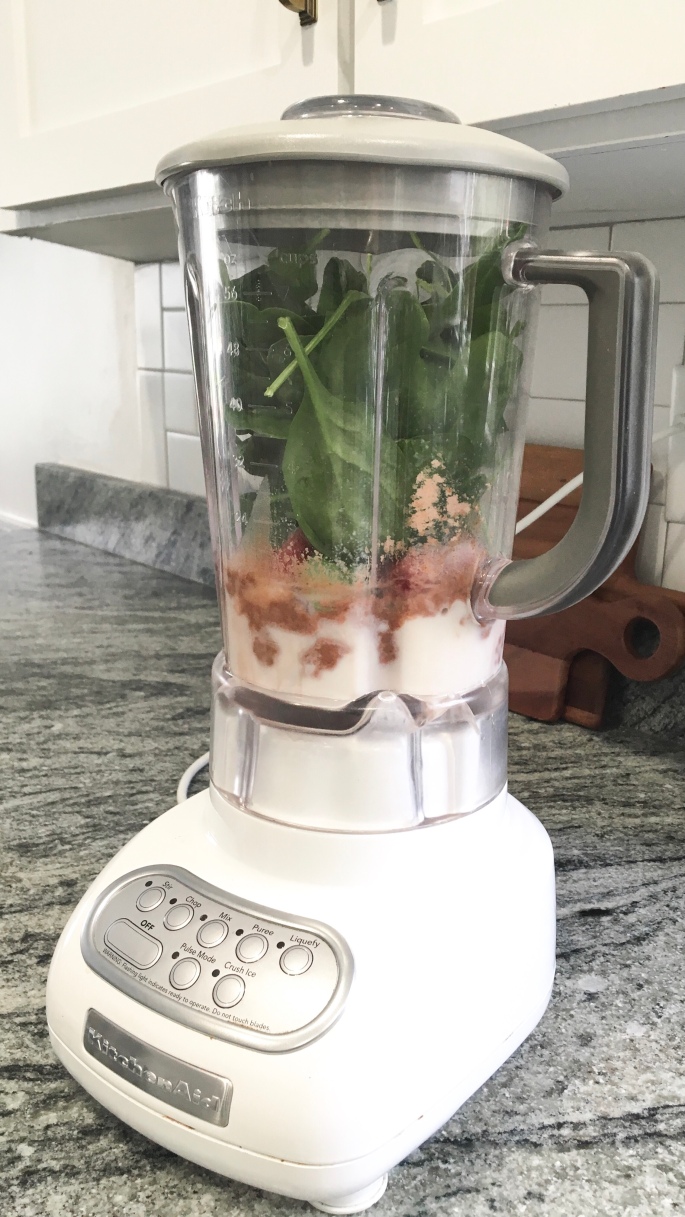
Chocolate Berry Protein Smoothie
- 1 cup unsweetened almond milk
- 1 cup strawberries, frozen
- 1/4 cup blackberries, frozen
- 2 TBSP unsweetened shredded coconut
- 1 scoop chocolate protein powder
- 2 cups organic baby spinach
- 1/2 cup cold water
- 1/2 cup ice
Directions
Add all ingredients into a blender. Blend on crush ice mode to break up your frozen ingredients and ice for about 30 seconds. After frozen ingredients are broken up blend on the liquify setting until smooth.
Notes: I use Silk Unsweetened Almond Milk and Body Fortress Whey Protein Isolate. I prefer to use a whey isolate protein since it has less calories than a plain whey protein.
Calories: 318, Protein: 33 grams, Carbohydrates: 26, Fat: 9, Fiber: 9, Sugar: 11
Serves 1
I hope you enjoy this quick and easy breakfast. I plan to share some other recipes soon so stayed tuned! Do you have any favorite smoothie ingredients? I’d love to try them.
Cheers,
Christa


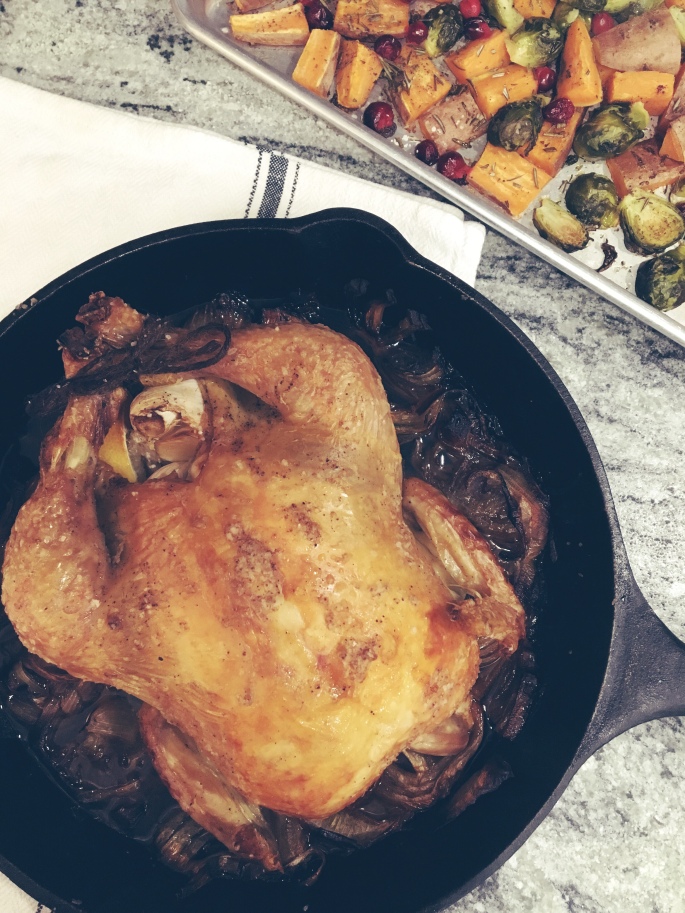
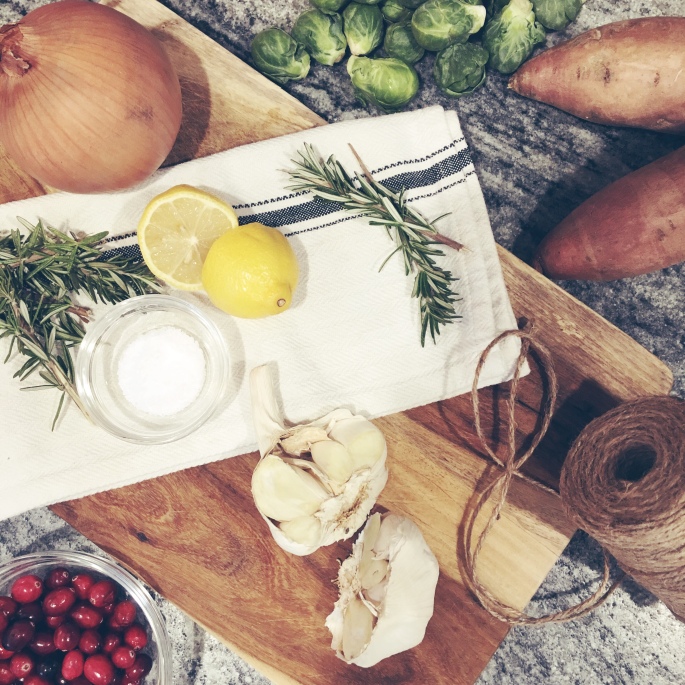
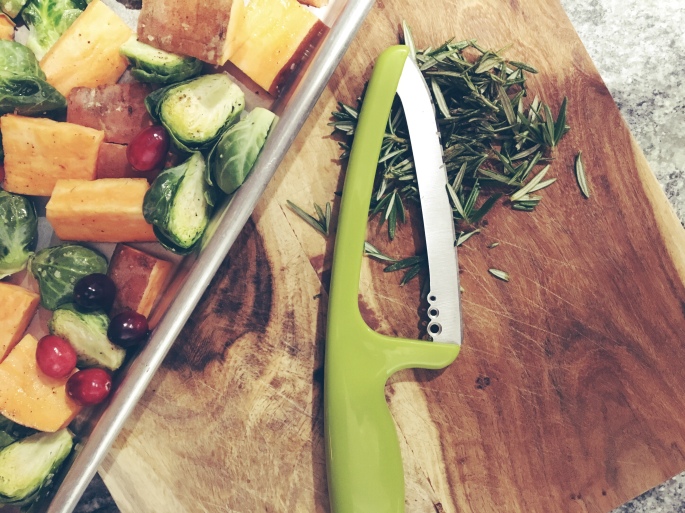
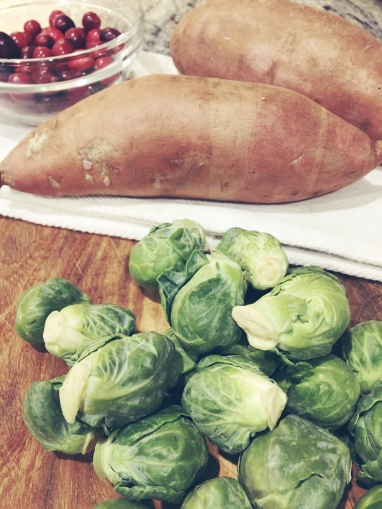 Ingredients:
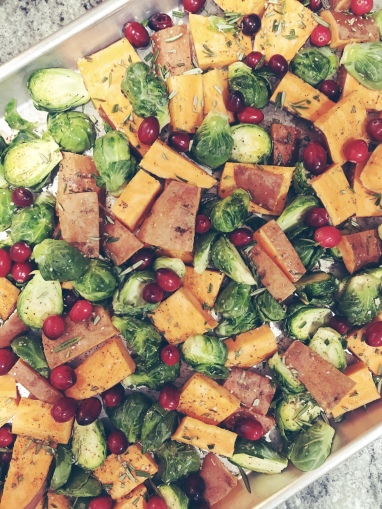
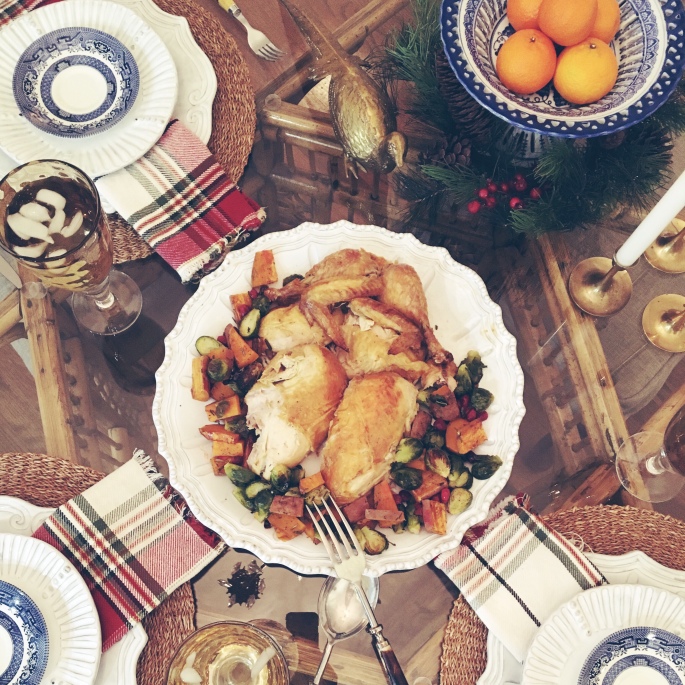

 While most of South Georgia was snowed in this week, I was working down in Orlando for an industry conference and tradeshow. After hustling all week, I sure am glad to be back at home and am happy it’s the weekend! I have big plans to finish taking my Christmas decorations down (gulp). This holiday season was full of the things the things I cherish – making memories with my kids, baking and spending time with family and friends. Despite the flu hitting our house for a week, it was a wonderful December and putting away the holiday decor signals an end to all the magic.
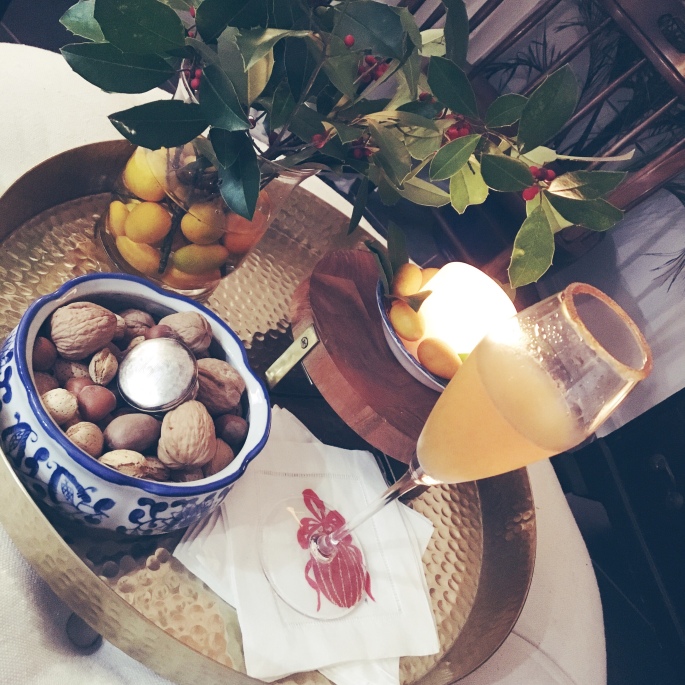
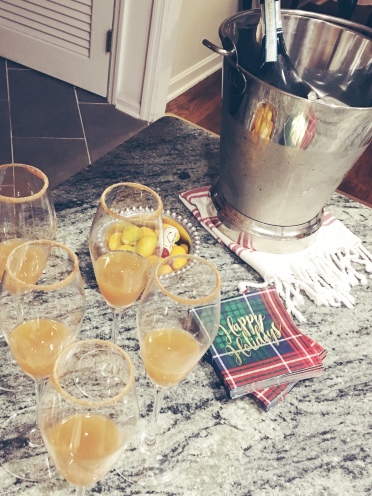
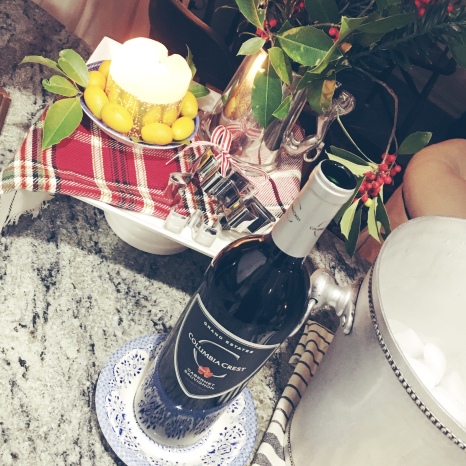 For the food, each guest brought an appetizer and a bottle of wine to share. As the host, this left me with little responsibility. I planned a game (who doesn’t love a good party game), picked up some prizes, lit some candles and hit play on one of my favorite